Nothing gets kids more excited about science than slimy stuff! Making slimy stuff is an excellent science activity that involves following instructions, measurement, understanding chemical reactions, and studying properties and characteristics of substances. And it is down right fun! Making and playing with slimy substances is also a fantastic sensory activity.
My All Time Favorite Slime Recipes
There are so many slime recipes. My son and I have tried several recipes that we have found online. Some of them work really well, and others…well… let’s just say we have spent a lot of money on various ingredients to make a sticky mess on our dining room table. Now all the experimenting is a great learning activity, but I also like to have tried and true recipes that we can turn to when we want to make a batch of slimy stuff to play with. Also when I am buying ingredients for slime for my classroom, I certainly don’t want to waste a lot of money on ingredients that may or may not work.
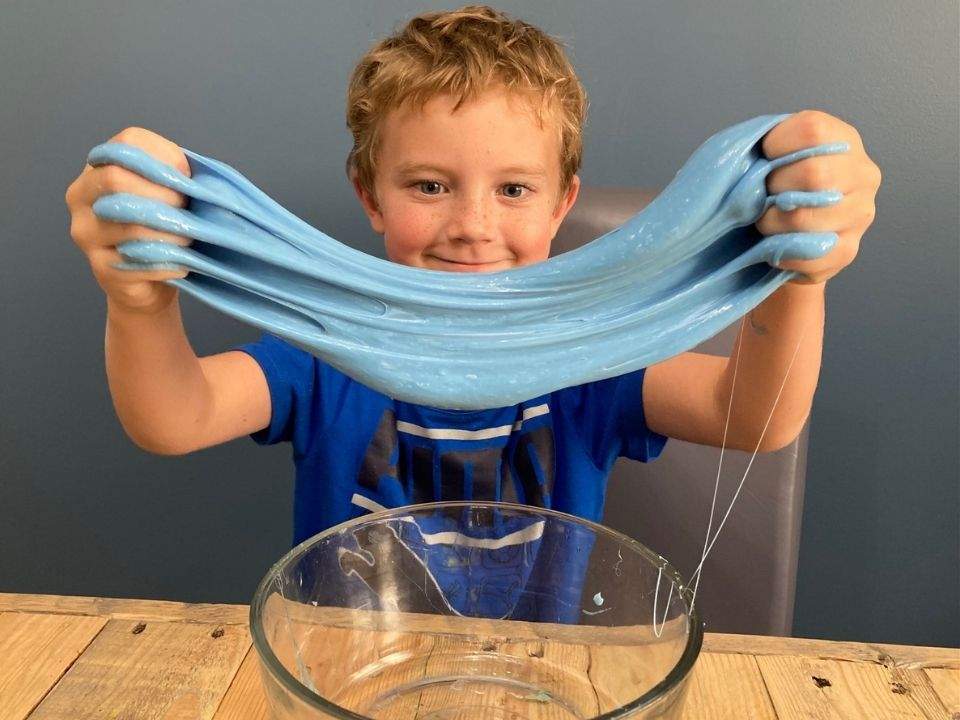
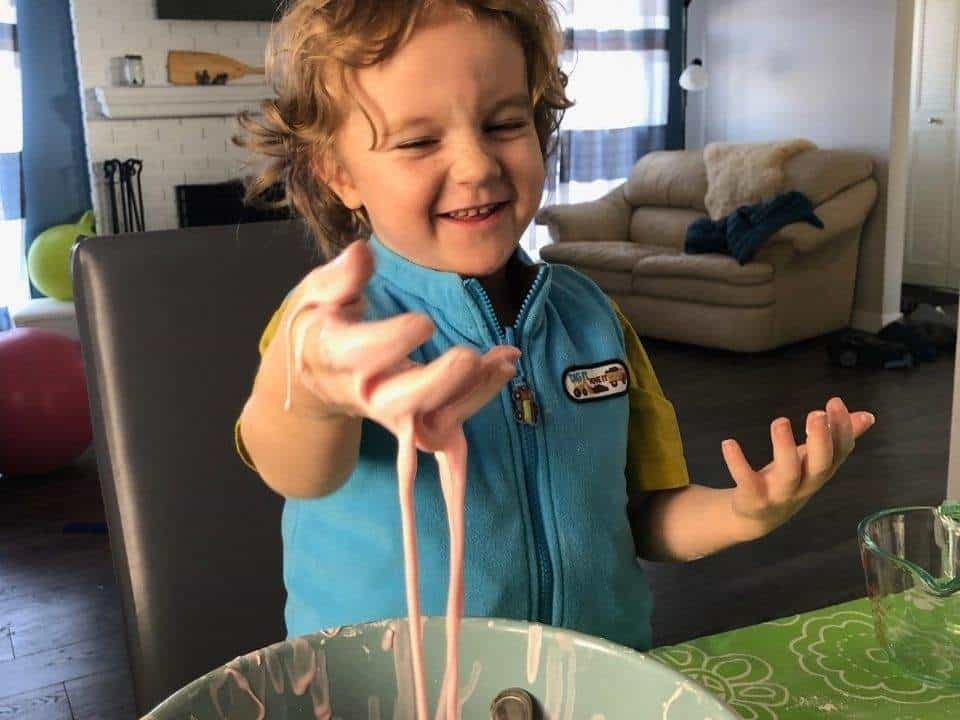
1. All Things Slimy -Traditional Slime
This traditional slime recipe is my go to recipe when I want a successful batch of slime. The best thing about this slime is that it can be adjusted by simply adding more contact solution if the consistency doesn’t seem right.
Ingredients:
- 1 cup white glue (2- 4oz bottles of white school glue)
- food coloring
- 1 tsp baking soda
- 4 Tbsp contact lense solution **
Instructions:
- Measure and add the white glue to a bowl
- Add the food coloring to the glue and mix
- Add 1 tsp baking soda and mix well
- Stir in the contact solution 1 tablespoon at a time. **The contact solution is what makes the slime transform from being runny and sticky to stretchy and slimy. Depending on the type of glue you use and the temperature and humidity, you may need to add more contact solution. Be sure to mix very well after each addition of contact solution
- When the slime starts to pull away from the bowl and form a ball, it is ready to start kneading by hand
- If the slime sticks to hands, add a small squirt of contact solution directly on to hands
Variations:
- Add glitter or pompons, to the slime for a different sensory activity
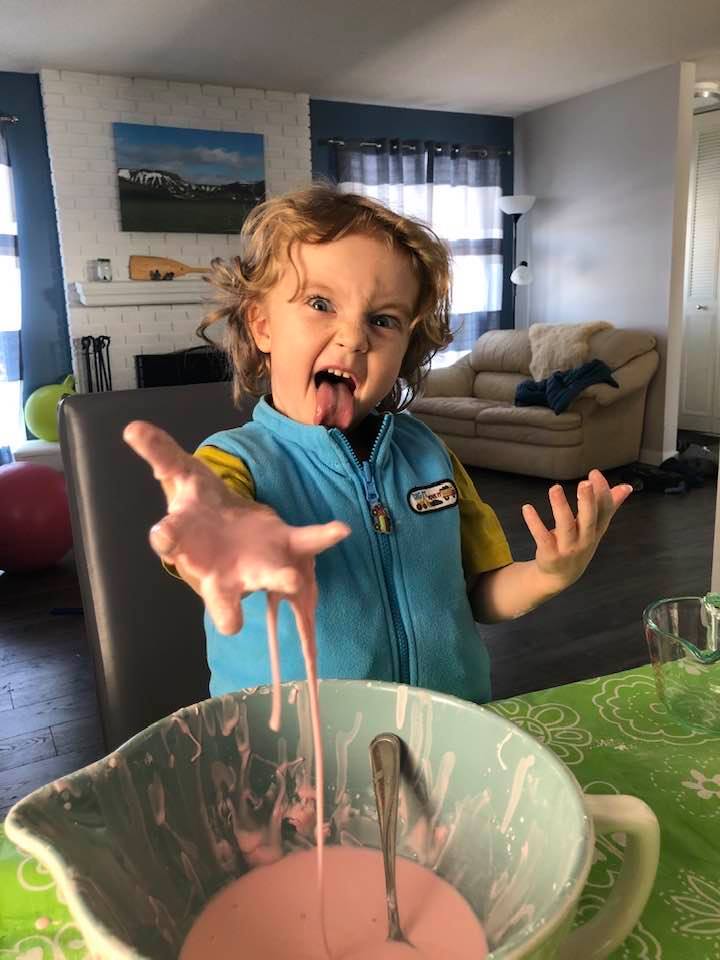
2. All Things Slimy -Ooblek
I love ooblek for its simplicity. Corn starch and water in a 2:1 ratio is all you need. Ooblek is messy, but that is part of the fun! Make sure to use a table cloth to make for easier clean up.
Ingredients:
- 2 cups corn starch
- 1 cup water
- food coloring
Instructions:
- Add the 3 ingredients to a bowl and mix well
Playing with the Ooblek
Ooblek is a non-Newtonian fluid meaning its viscosity changes when force is applied. If you move the ooblek slowly, it will feel runny and liquidy. If you apply a strong force quickly, it will behave more like a solid. Try poking your fingers quickly into the ooblek. Slowly move your fingers through the ooblek. Try to quickly form a ball with the ooblek and then hold the ball in your hands.